Built-In Golf Room Kit
Create Your Golf Room
Carl’s Built-In Golf Room Kit takes your golf simulator experience to a new level by providing a fully immersive and permanent setup in the dedicated space of your choosing.
Built-In Look
Carl's Built-In Golf Room Kit integrates seamlessly into the room's design, delivering a flawless indoor golfing experience.
Highly Usable Space
Picture this: a room for perfecting your golf game, hosting a round of 18, enjoying family time, watching your favorite movie. Or, why not all of the above?
Skill Required
Okay, you won't need a crane, but seriously...
Be Forewarned: This product can be like a challenging par-5. It's designed for handy people skilled at home reno projects.

Crafted by Carl for a High End "Built-In" Look
Carl’s Built-In Golf Room Kit allows the home or commercial user to transform just about any room into a fully immersive, finished off golf simulator paradise. Allow your turf to lead up to the impact screen; without a bottom border, you'll get that seamless turf to screen visual.

A Golf Impact Screen That's Built to Fit
Carl's Built-In Impact Screens are meticulously crafted at the Carl’s Place headquarters in Milton, Wisconsin, USA, by the most skilled sewers in the golf simulator industry, so you know they’re built to last.
All the Ways to Finish Your Built-In Golf Room
Start with Carl's Built-In Screen, then choose how to finish your walls and ceiling.

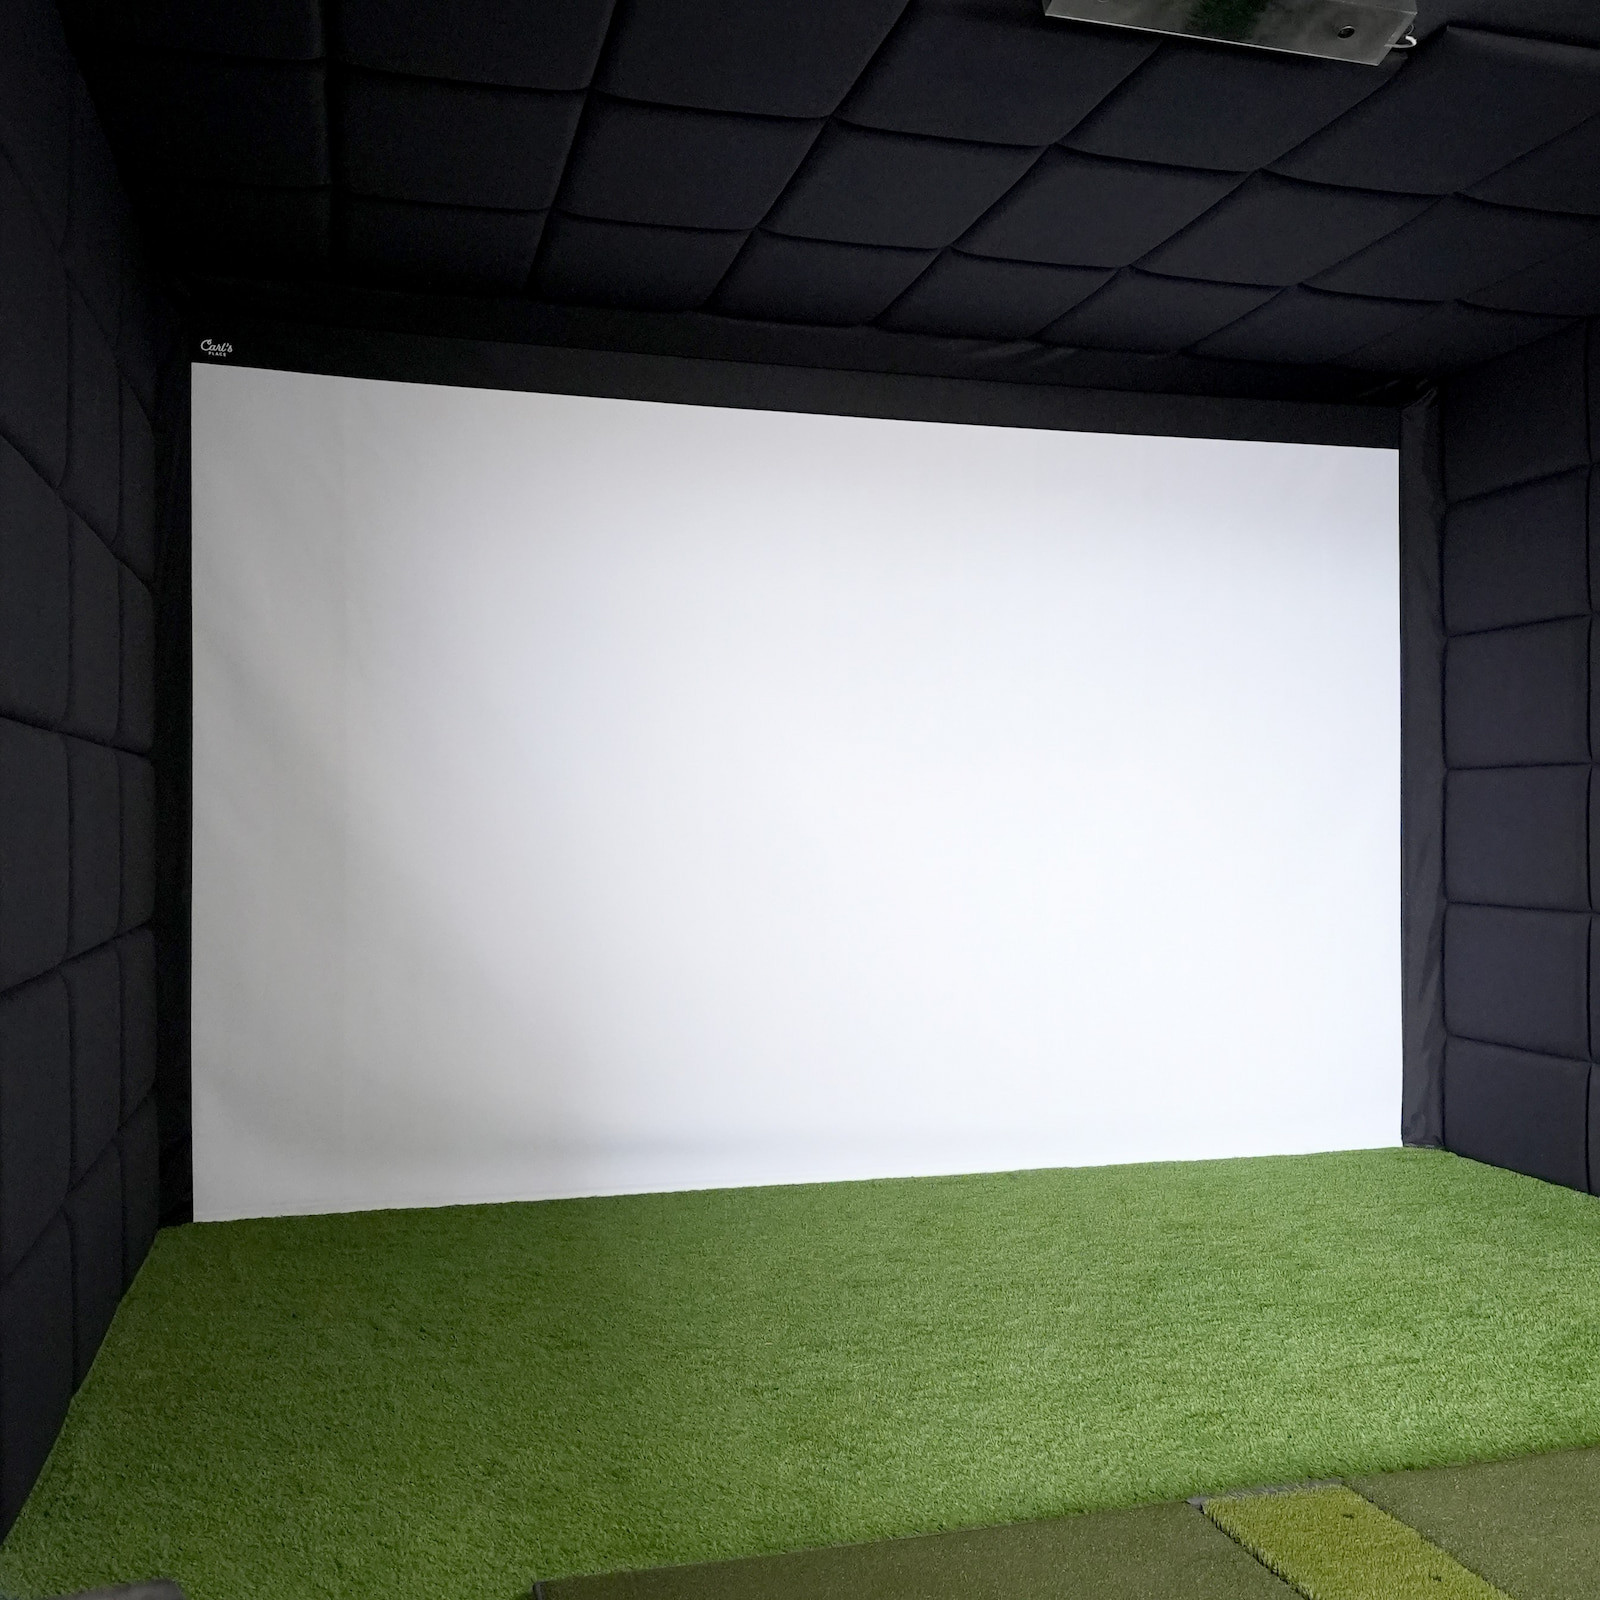
Built-In Screen Only
Carl’s Built-In Screen fits and installs seamlessly into your room - not a single pipe needed! Along with the impact screen, all you need are the included corner cable anchors, pulley wheels, cables, releasable zip ties, and the starter panels or hook and fastener tape. What a great start to a golf room!
✅ Wall-to-wall screen
✅ Gives DIYers flexibility on how to protect walls and ceiling
Starting at $585

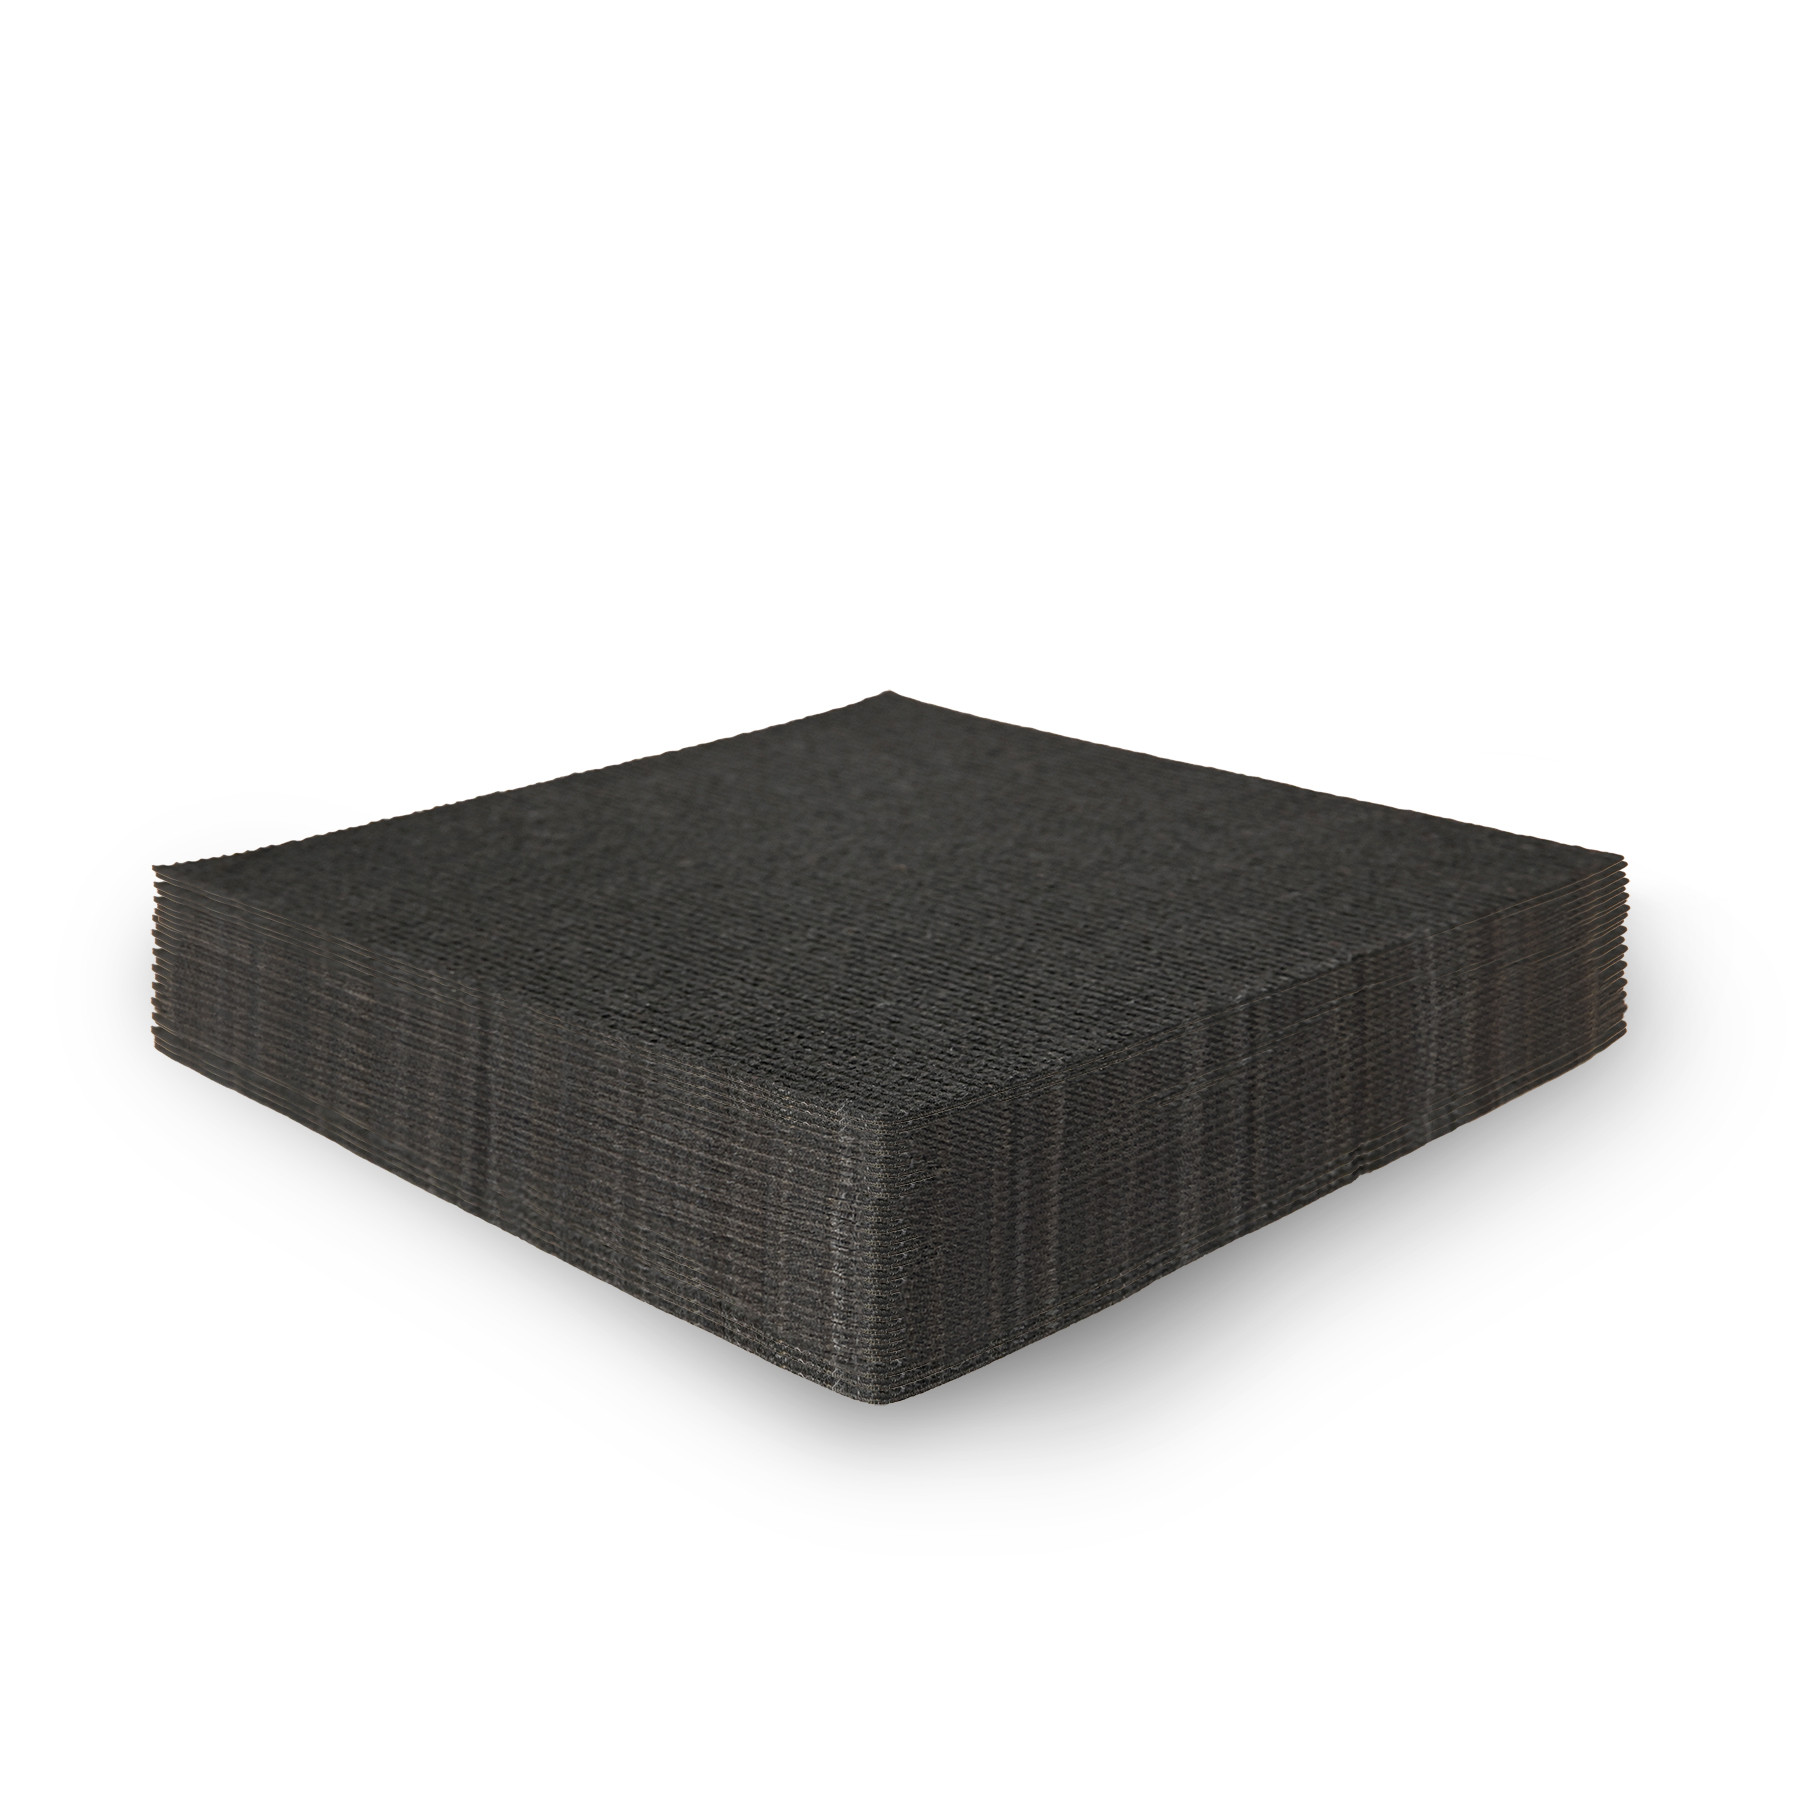
Carpet & Acoustic Tiles
Designed with golfers in mind, these versatile adhesive-backed tiles adhere to your walls and ceilings for a sleek, professional finish.
2 Types Available: Carpet Tiles, a budget-friendly, a soft, low-pile black material that softens impact and Acoustic Tiles, a thicker tile for better protection, ambient light control, and sound absorption.
✅ Adhesive-backed tiles that can be trimmed to fit your space
✅ Great if you need to cut out access to outlets or lights
Starting at $885

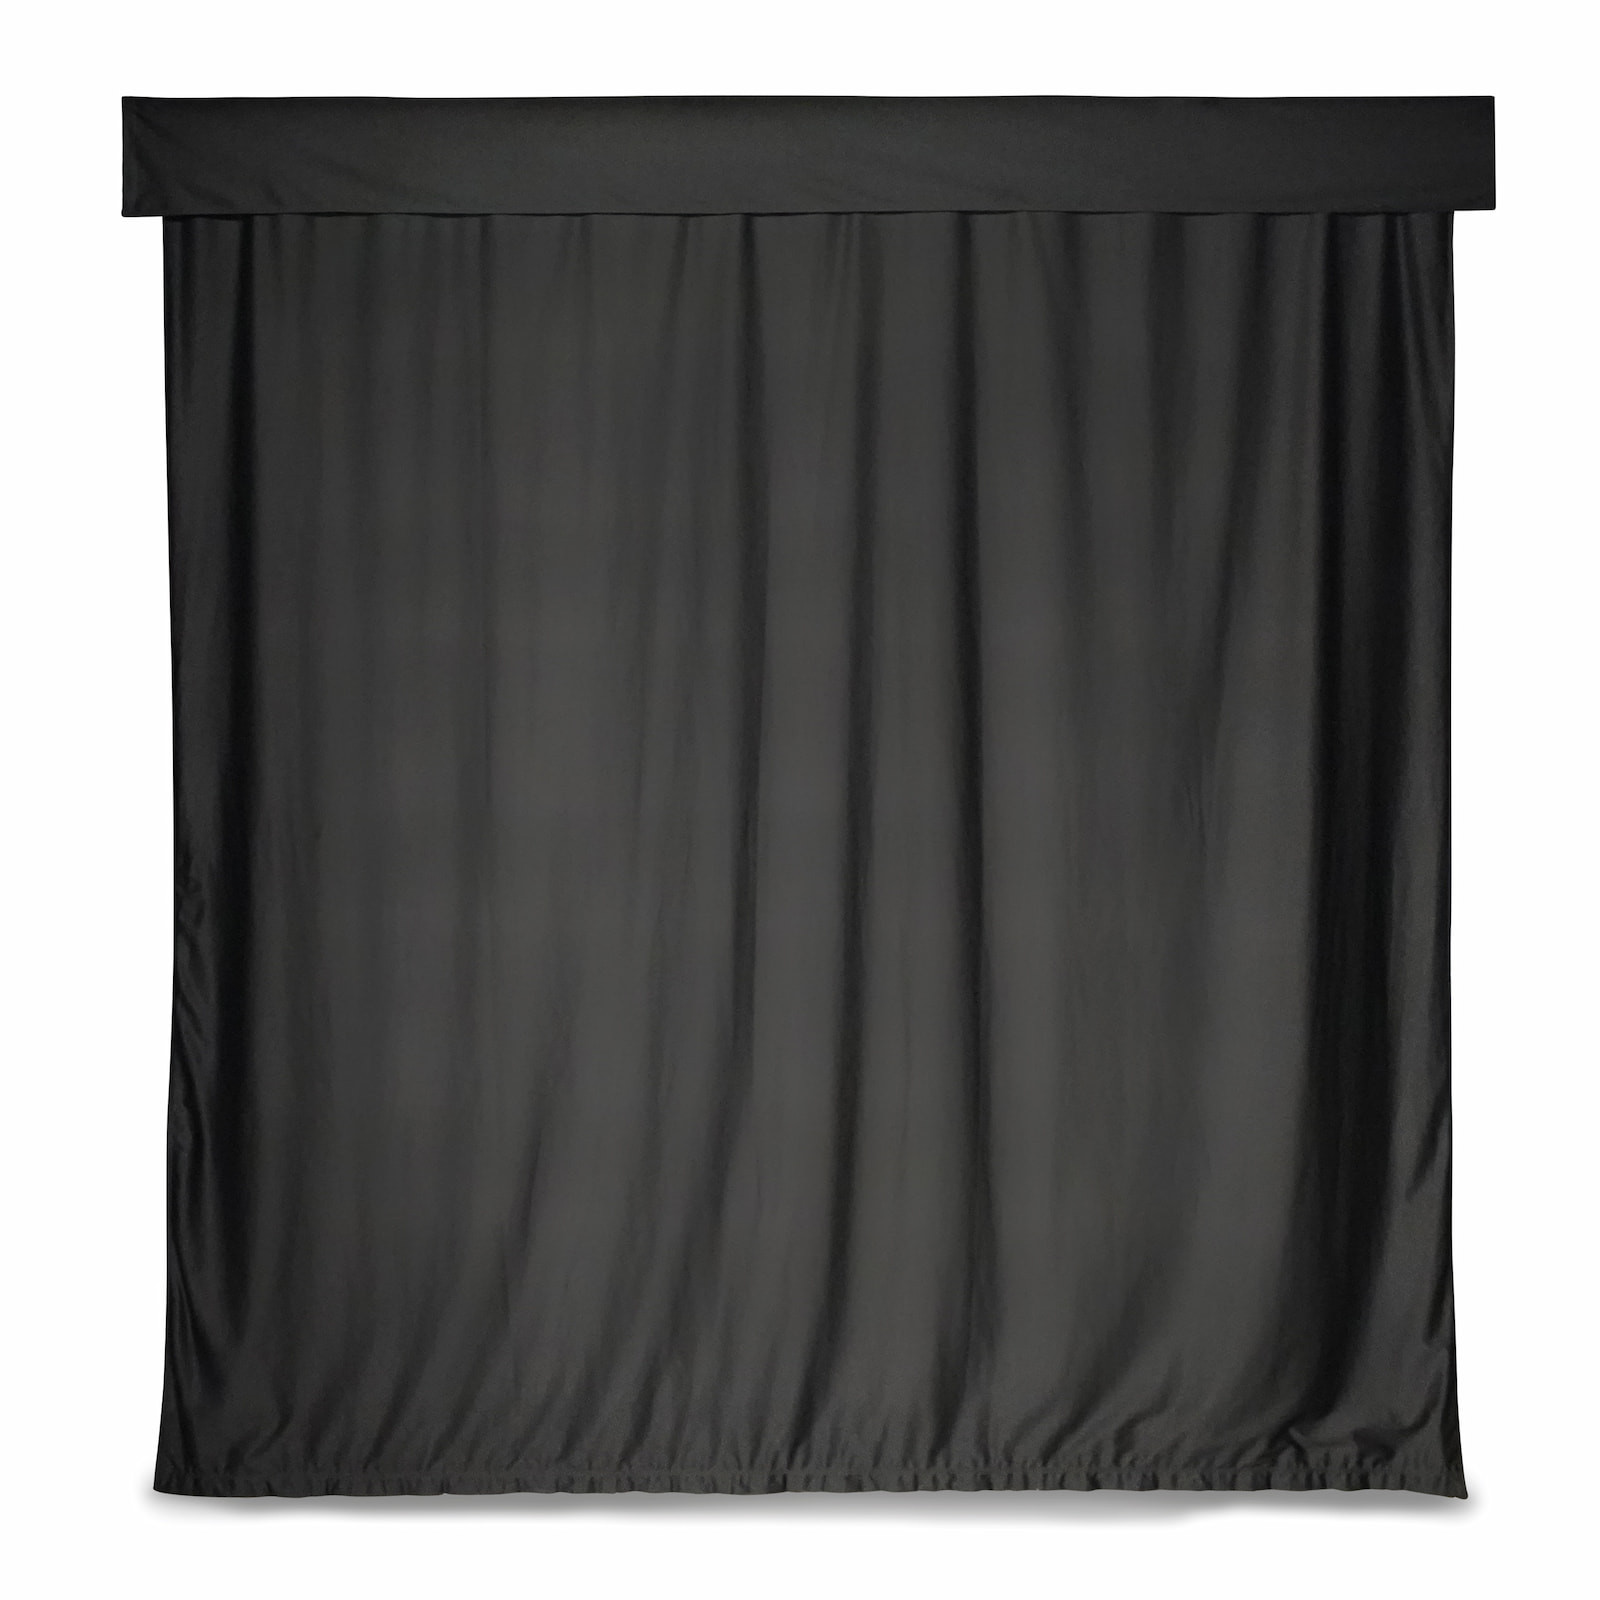
Retractable Curtains
Carl’s Golf Room Curtains are a great option is you need temporarily cover doors or windows. Simply pull the curtain out when you want to play, and drag it back when you need access.
✅ Heavy-duty curtains to block ambient light, with reinforced grommets and a weighted bottom
✅ Available in many heights and depths to fit your space
Starting at $1,205
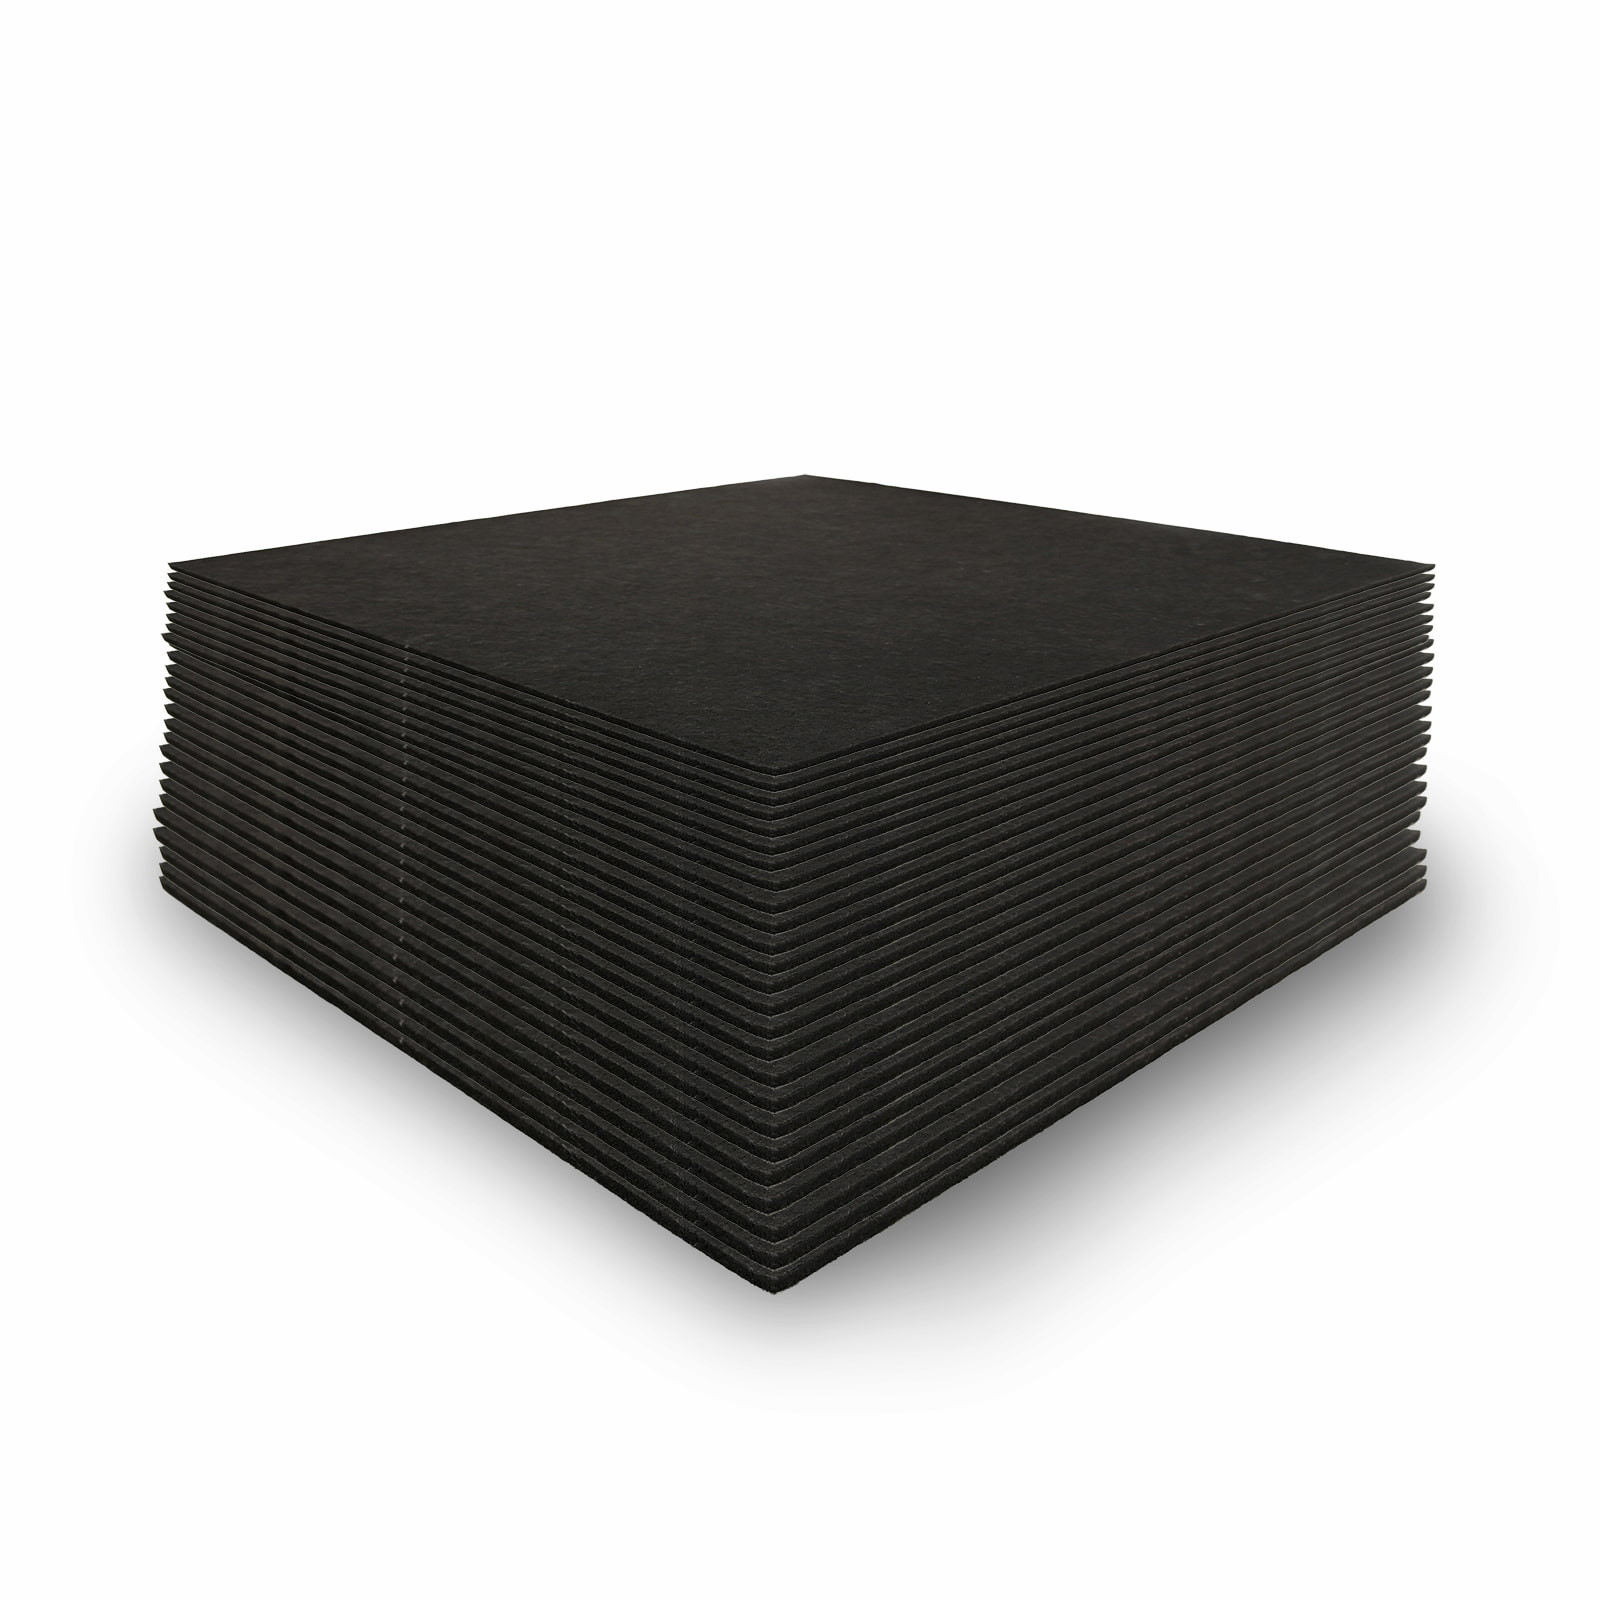
Padded Panels
The most protective option, these padded panels attach using French cleats and Z clips. Made with an inner core and foam padding, encased by smooth, black fabric. They are not only custom-sized to fit your specific space, but heavy-duty so that you can swing with confidence and not worry about anyone putting a hole in your wall.
✅ Maximum wall & ceiling protection
✅ Custom-sized to fit your specific room dimensions
Starting at $4,165 (plus freight shipping)
Still Not Sure Which Option is Right for You?
Let Tim walk you through the different wall and ceiling options to help you decide.
What Our Customers Say
Fantastic customer service, to accommodate a perfect fit for my new simulator. The Carl’s Place Built-In Premium Screen is fantastic!

Rick from Connecticut
Really high quality stuff, and relatively easy to put together.

Jordan from Washington


Details

Nate H.
Has This In His Basement
(and Technical Product Specialist Lead)
Carl's Team Insights: The Built-In Look
My project began with a basement remodel where we had to gut and rebuild the entire basement, which left me considering options of where to put a golf simulator. I chose the Built-In Golf Room Kit because it could easily convert from golf simulator to open entertaining space.
Since I had a limited height, but full control over how to frame out the width in my space I started by considering options that would maintain a true 16:9 or 16:10 aspect ratio. This helped me determine the final width of my wall before the remodel began.
Instead of a full enclosure, I decided to add padded panels to the ceiling and use curtains on either side of the space to keep it easy to change. During the build, we started by mounting the cable anchors and hanging the screen. Once the screen was up and tensioned, we moved on to installing the padded ceiling panels and curtains.
Looking back, I'm happy that I chose a 16:9 format so I can easily switch between golf sim and home theater uses. I'm also happy I used curtains. I can already see the benefits of opening the space up after just one weekend.
Built-In Golf Room Features
Integrated Into Your Room
A built-in golf simulator is arguably the most realistic-feeling and immersive indoor golf setup you can buy.
Once installed, no need to worry about your golf simulator setting. A built-in golf simulator is a more permanent solution, which means it is more integrated into the room’s design. Great for enhancing your property’s value with a built-in golf simulator as a unique selling point.
Maximize (and Multi-Purpose-ify) Your Space
A built-in golf simulator maximizes the space in your room, allowing for more room for freely swinging. Add some nice speakers or a little surround sound and some recliners to your built-in golf simulator, and you’ve now got yourself a legit home theater.
Versatile Setup, Lasting Durability
See how this customer transformed their space with Carl's Built-In Golf Room Kit.
How It Works
Installing Your Built-In Golf Room Kit
- Plan and Measure by reviewing the setup instructions.
- Set the Framework by installing cable and anchors
- Hang the Screen via cables and zip ties, then tension it
- Protect the Walls with curtains, wall tiles, or padded panels
- Get Ready to Golf
Ideal for Installers Skilled in Construction/Trades
For Carl's Built-In Golf Screen, you must:
- Have a space where a golf screen can be installed on an even plane, 1' away from the wall behind it.
- Be confident using laser levels to align all components.
- Be able to demo any trim boards that interfere with screen.
- Anchor lag screws into the top and bottom plate of your walls.
- Have patience to tension and adjust your screen for a perfect fit.
For the padded wall and ceiling panels, you must:
- Use a diagram we provide to visualize and lay out the panel placement.
- Be able to demo any trim boards that interfere with the panel placement.
- Attach cleats to studs in your walls, or use drywall anchors, then hang each individual panel until you cover the space.
To properly install this golf room kit, you must have the patience and technical aptitude to achieve all of the above. If any of this sounds out of your league, shop our golf enclosure kits. Everything you need for a golf simulator enclosure in a free-standing easy-to-assemble kit. Shop Carl's Golf Enclosures.
Get Started
Watch the Install

Tools Needed
For built-in screen
- Levels (laser level or plumb line)
- Ladder(s)
- Drill and driver
- Drill bits
- 7/16” socket wrench
For panels
- Levels (laser level and 3ft level)
- Ladder(s)
- Tweezers or hook and pick set
- Pencil
- Drill/driver
- Studfinder
- Drywall anchors
- Measuring tape
Ideal Space Requirements
Make sure you have room in your space to swing fully. We recommend you stand at least 10 ft from the screen, with 7 ft of swing room in every direction.
- Minimum Room Depth: 18 ft (1 ft buffer space behind screen + 10 ft screen to tee + 7 ft behind tee)
- Minimum Room Width: 14 ft if you want your tee-centered
- Minimum Ceiling Height: at least 9 ft is best for swinging
Frequently Asked Questions
The Built-In Golf Room Kit is designed for more experienced DIYers.
- For the built-in golf screen, you will need to mount the corner cable anchors to the bottom and top plates of your wall. (Do not use drywall anchors to install the corner anchors; they won’t hold.)
Your choice of wall protection also has some level of difficulty.
- The adhesive wall tiles need to be carefully laid out, and stuck to the wall neatly. Probably the easiest of the wall protection options.
- The curtains need hardware that screws into your ceiling.
- The padded panels come assembled, but you'll need to attach them to walls using Z clips and a French cleat. See more in our manual or assembly video.
If you're not comfortable installing the Built-In Golf Room Kit yourself, consider hiring a more experienced friend or contractor. Or if you can't securely mount the corner anchors, consider Carl's DIY and Pro Enclosures that can be customized to fit many spaces.
To secure the built-in screen kit, you must mount the corner cable anchors to the bottom and top plates of your wall. Do not use drywall anchors to install the corner anchors; they won’t hold. If you can't securely mount the corner anchors, consider an enclosure.
If you're installing our padded wall panels, a perfectly square space with level floors, ceilings, etc. is most important, otherwise the perfectly rectangular panels may expose the extra space created by the sloping of the room. Consider choosing the carpet or acoustic wall tiles which are trimmable to fit awkward spaces.
The cables used for the Carl’s Place built-in screen kit essentially acts as the frame and mounting point for the impact screen. Unlike the Carl’s C-Series Enclosures, which only incorporate a cable at the bottom of the screen, the entire perimeter of the built-in screen kit is framed by two cables, joined together about halfway up each vertical side.
The hardware for your Built-In Golf Room Kit depends on your setup choices.
|
Hardware for Carl's Built-In Golf Room Screen Kit: |
||
|
(4) Corner cable anchors |
(2) Tensioning turnbuckles to connect the top and bottom screen cables |
Zip ties to attach your screen to the cable |


|
Hardware for Carl's Golf Room Panels Kit: |
|
Hardware for Carl's Curtain Kit: |
|
French cleats and Z-clips to securely attach the panels |
Ceiling track and rollers to slide your curtain |


The flaps of the screen are designed to cover the hardware, ensuring a clean look for your golf screen. In the case of Carl's walled enclosures (our DIY Golf Enclosure Kit and our Pro Golf Enclosure Kit), these flaps would connect to the enclosure's fabric walls. However, as the Built-In Golf Room Kit lacks walls, you'll need to secure the flaps to the walls and ceiling of your room. We offer two methods for this:
-
Hook-and-Loop Fastener Tape:
- This tape is secured to the walls and ceiling, providing a point of contact to attach the flaps. It ensures a clean appearance by concealing the cable, zip ties, and hardware.

- This tape is secured to the walls and ceiling, providing a point of contact to attach the flaps. It ensures a clean appearance by concealing the cable, zip ties, and hardware.
-
Starter Panels:
- Required when installing our padded Golf Room Panels and recommended for other installations, these thin boards have a strip of hook-and-loop fastener tape, providing a more secure attachment point for the flaps. Starter Panels can be used on both walls and ceiling, offering a streamlined and secure method of attachment.

- Required when installing our padded Golf Room Panels and recommended for other installations, these thin boards have a strip of hook-and-loop fastener tape, providing a more secure attachment point for the flaps. Starter Panels can be used on both walls and ceiling, offering a streamlined and secure method of attachment.
You can use a combination of Starter Panels and hook-and-loop fastener tape based on your installation preferences for the Built-In Golf Room Kit.
To replace one of the padded wall panels, you can slide panels off by row to replace damaged ones. If you added trim to the end of the row you'll need to remove that first. Contact us to order a replacement wall panel. We can try to get you the closest match possible, but know that each lot of fabric will have slight variations.
We select panel sizes based on your room dimensions. With your order, you will receive a custom layout diagram outlining the panel placement for each wall, but you can rearrange the panels if desired.
Starter Panels are thin boards that attach around the perimeter of your screen. They provide a dedicated attachment surface for the screen flaps.
In screen-only installations, Starter Panels are optional, as you can alternatively attach the flaps using simple hook-and-loop fastener tape provided. However, for a more secure attachment with a sleek finish, Starter Panels are recommended.In installations involving padded wall or ceiling panels as part of your Built-In Golf Room Kit, Starter Panels become a necessity. They provide the necessary surface for the panels to sit against and prevent any unwanted shifting.
For just the built-in screen, lead times are similar to our normal screen orders, less than a week, give or take. If you’re ordering padded panels, the lead time can be longer. When you check out, you'll see estimated delivery dates in the cart.
With this wall-to-wall built-in golf room kit, most screens won't have perfect ratios. You have a couple options:
- Contact us to order a screen where the black masking at the top is larger. This can help make the screen look more finished.
- Edit your graphics card settings on your PC. Here's how todo that.
- Accept that you will have some unused screen space, but that it will still be a fabulous wall-to-wall, floor-to-ceiling screen.
Your best choice if you need to customize your wall protection around obstructions like soffits, outlets, fans, lights, or angled ceilings is to choose our carpet or acoustic wall tiles which are easily trimmable.

If you choose padded panels, you may be able to accomplish this with a DIY project. You would need to be pretty crafty. The fabric cover and foam padding of the panel are adhered, so you would have to remove it, then cut the inner core to fit your needs and reattach.
“The most important shot in golf is the next one.”Ben Hogan

Related Articles
Related Articles

Mastering Your Short Game: How to Improve Your Putting Using a Golf Simulator
We’ve all heard the saying … “drive for show, putt for dough.” Yes, you can bomb drivers in a golf simulator, but what about working on that money-making putter stroke? Putting may seem like the simplest part of golf, but it's often where games, rounds and tournaments are won or lost. If you're looking to shave strokes off your scorecard, putting is the place to focus.

Golf Simulator Computers
When most people start building their indoor golf simulator, they’re thinking about the fun stuff. Launch monitors, hitting mats, projectors, maybe even what kind of turf feels the most real. But there’s one piece that’s just as important, and often gets overlooked: the golf simulator computer.

Building Your Golf Simulator PC? How To Meet All the Specs
Building the best computer for a golf simulator might seem daunting, but with the right guidance, it can be a rewarding and cost-effective endeavor.