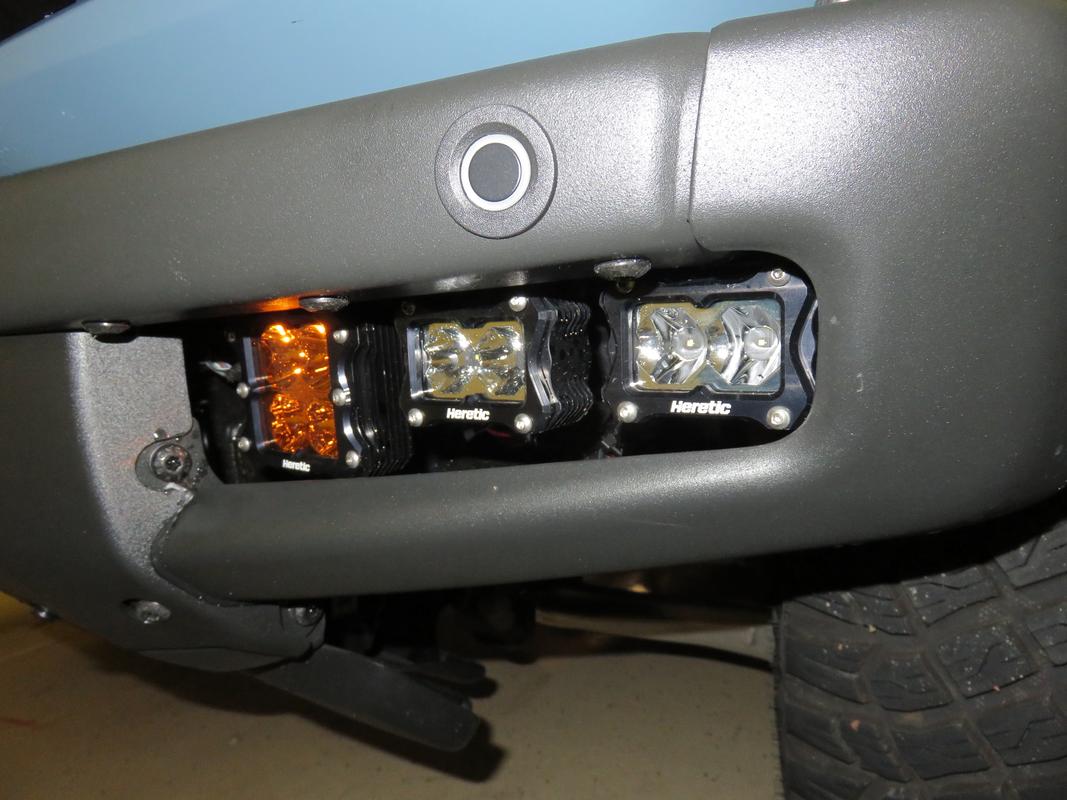

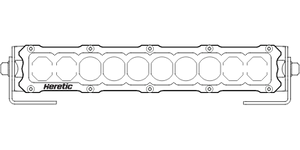


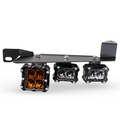
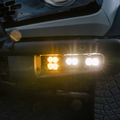
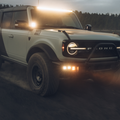
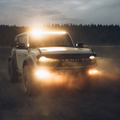
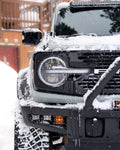
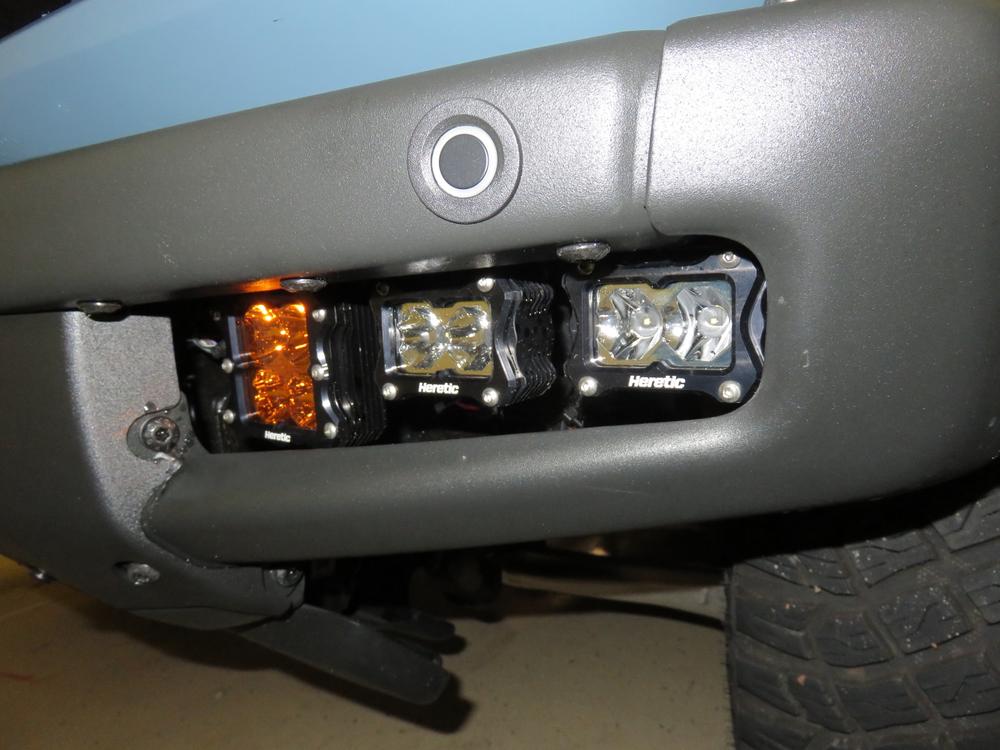
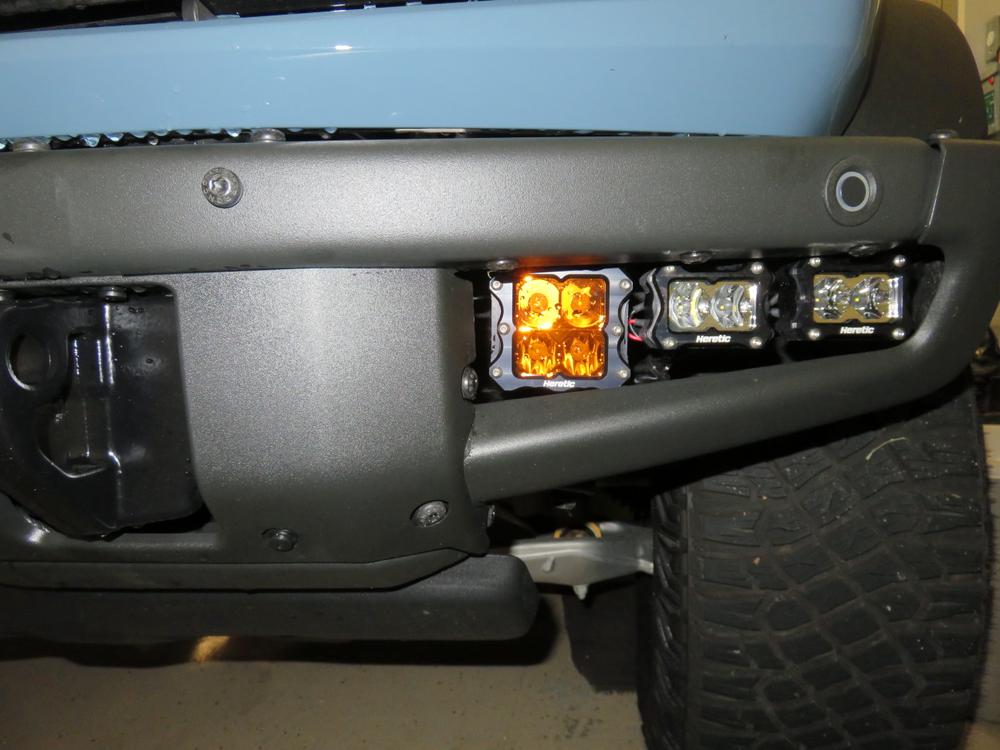
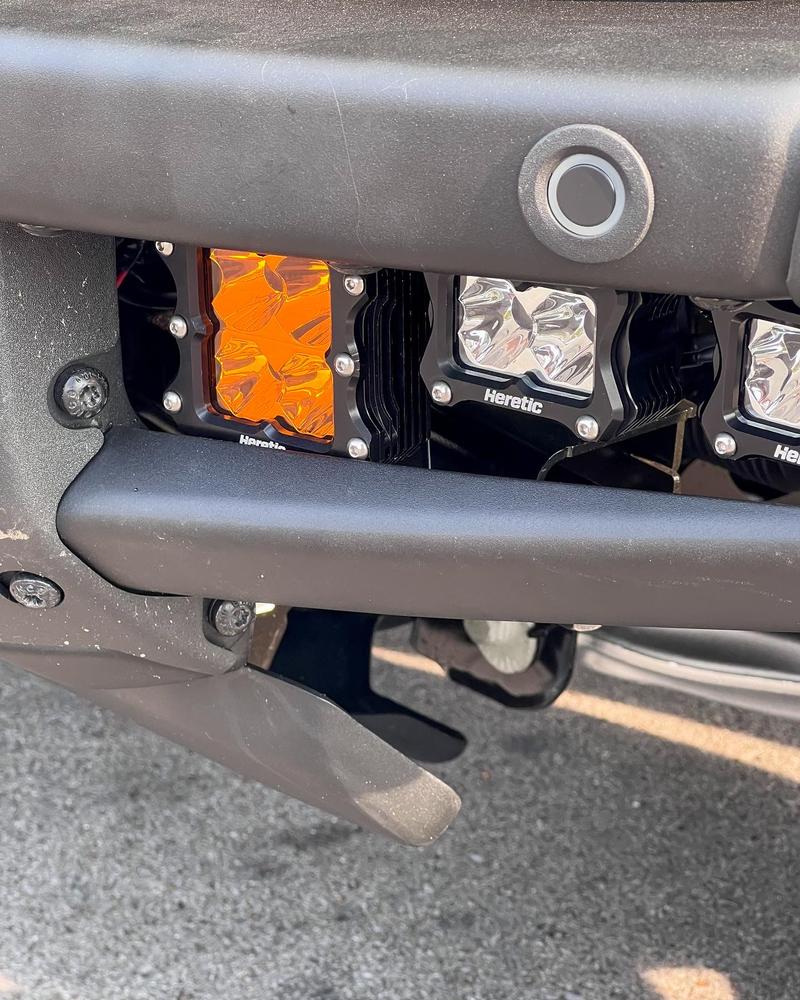
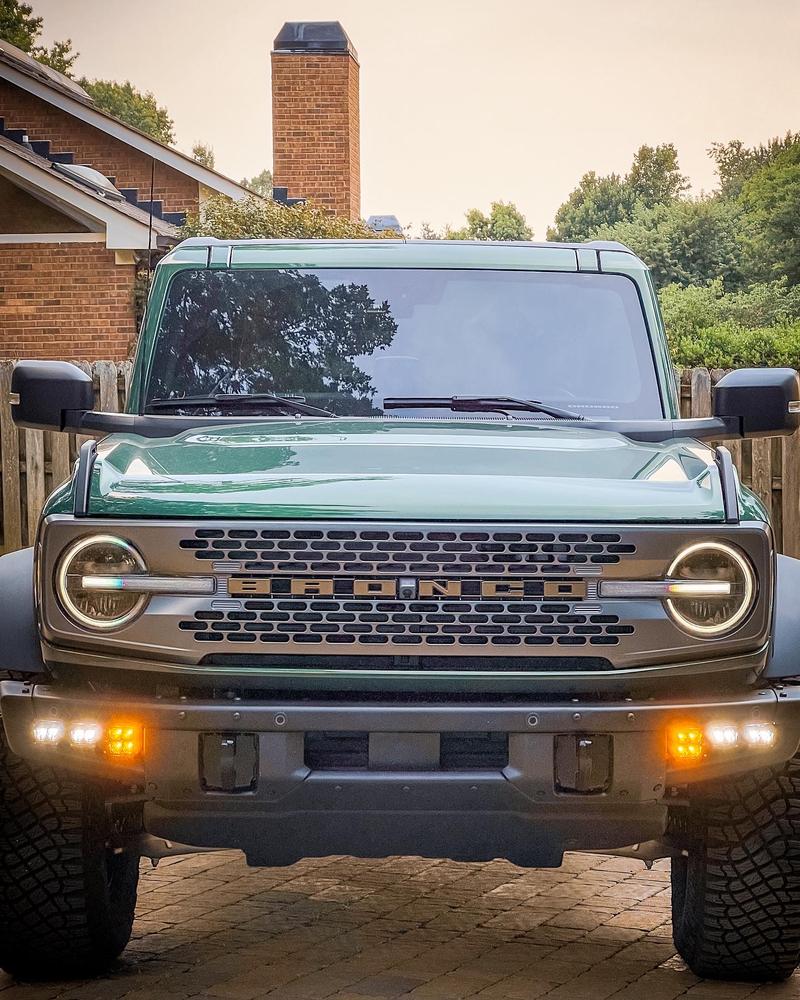
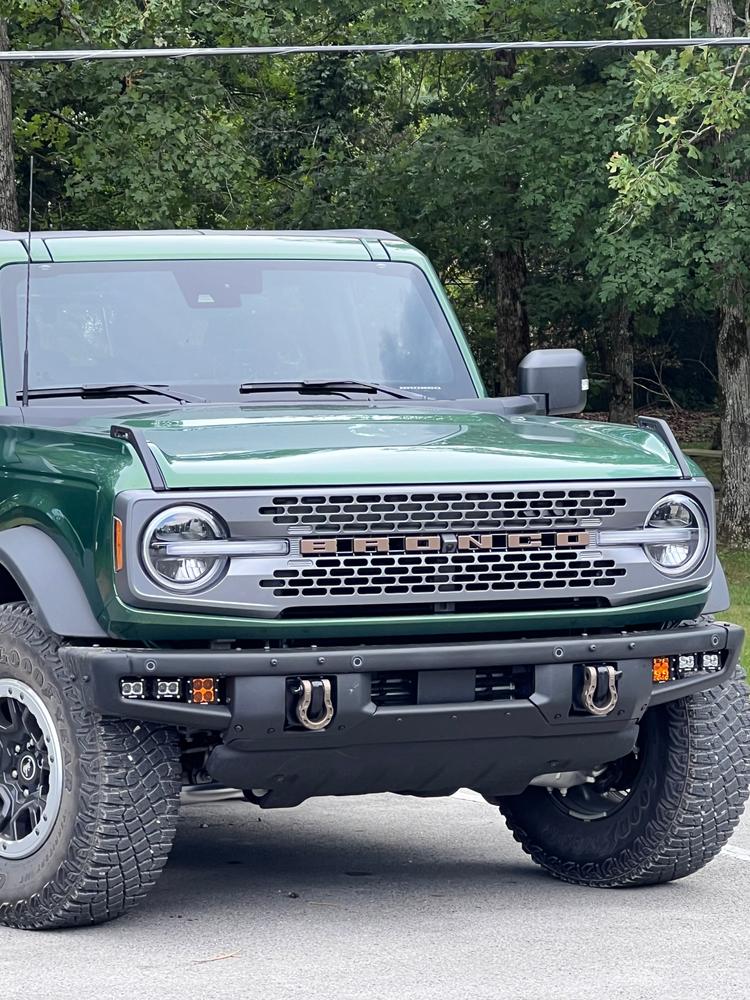
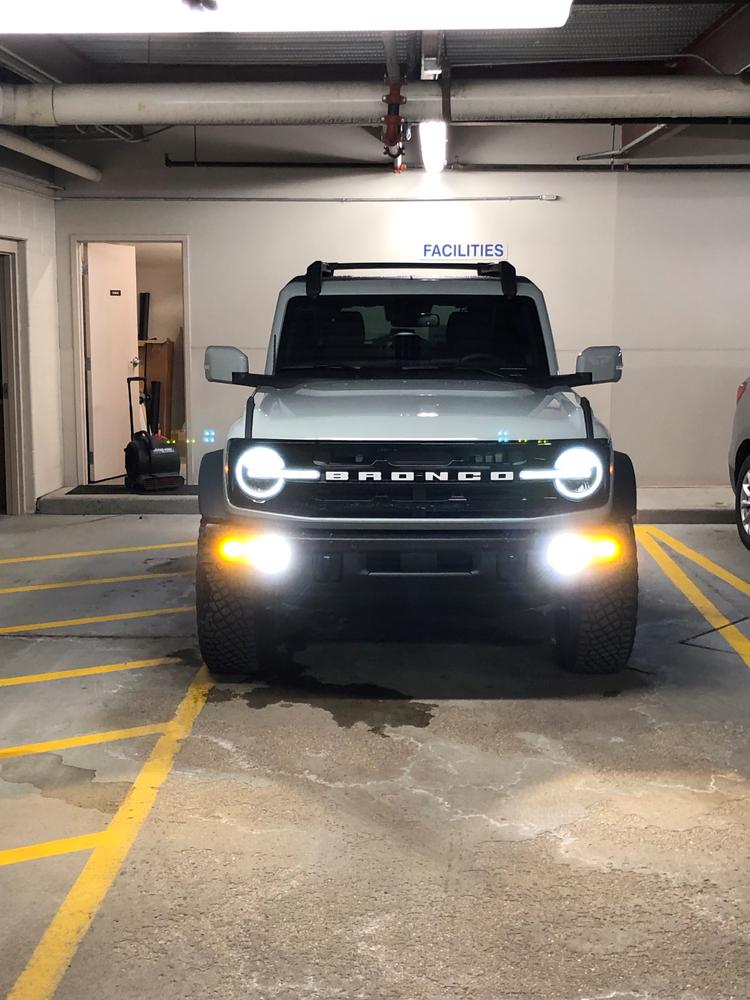
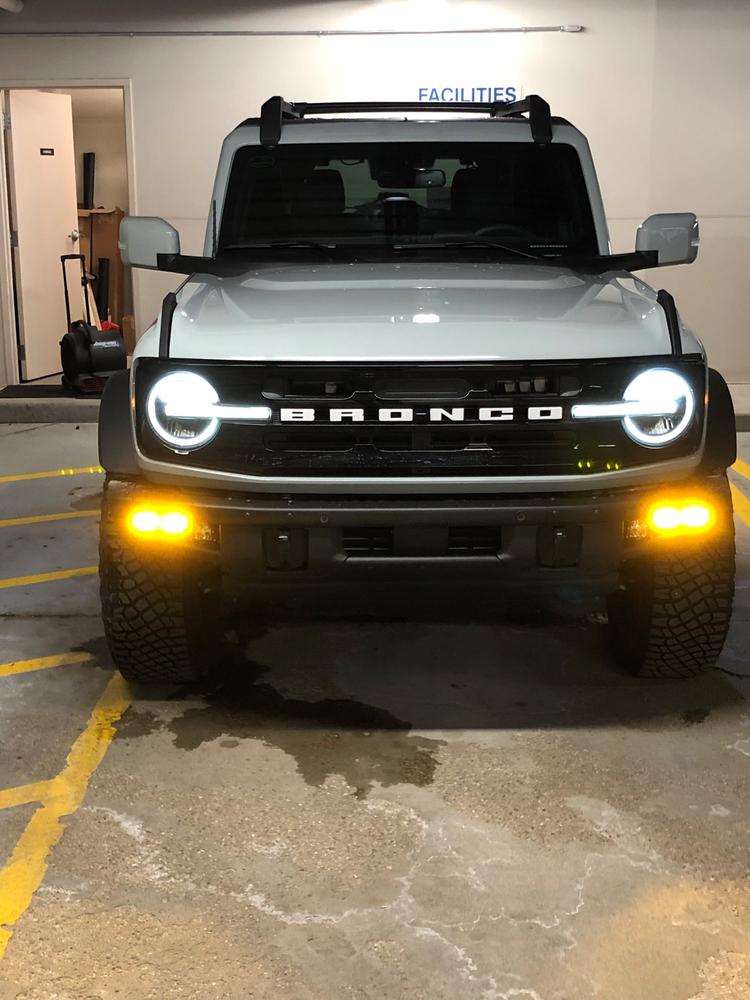
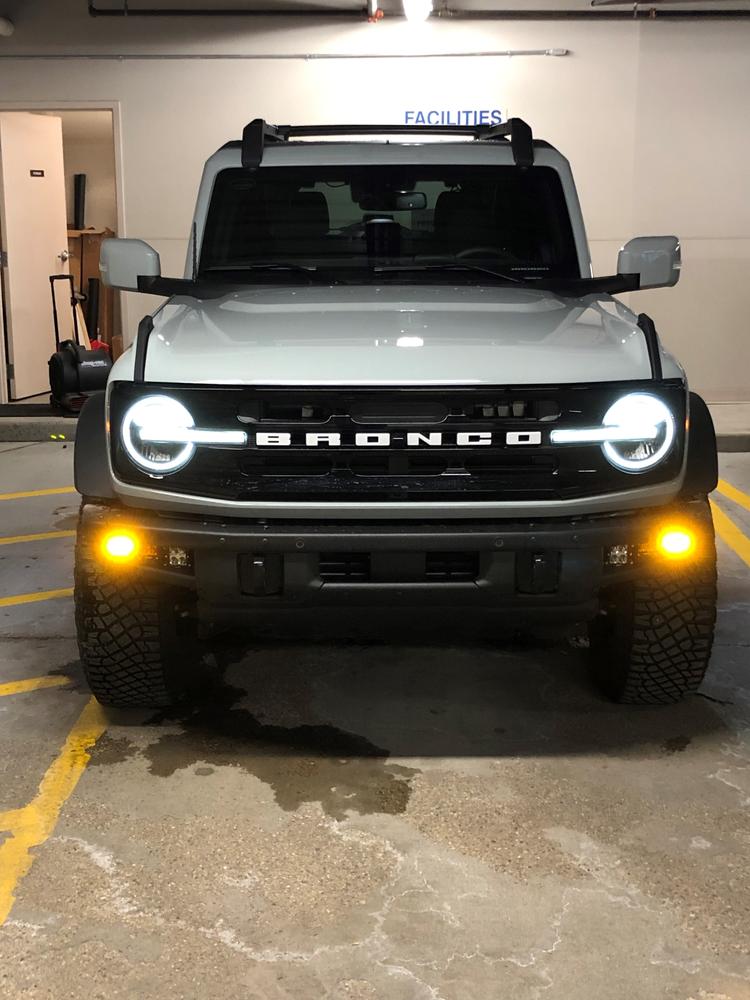
Ford Bronco (2021+) - LED Modular Bumper Fog Light Kit

 C
C BEYOND LUMENS
 Heat Management
 American Owned an Operated
 Versatile Mounting Options


Lights are really great just installed them. They aren’t as fast as some on shipping but are worth the wait.
Headache to receive, awesome installed
Waited over 8 weeks for my purchase, and did not receive any information on why until I reached out, and even then it took almost a week for a response... I hope when I purchase (I do plan on purchasing ditch lights, and a light bar for a future winch mount) future lights from you that I get more communication about any delays, rather than no communication and wondering if I was scammed out of $1,000. Without the YouTube install video for these lights there are no instructions, as this was my first light install ever it took me about 4 hours to complete. I wired the Amber and white to auxiliary switches three and four respectively. I do love these lights now that they are installed, incredibly bright! I use the Amber lights as fog lights for any city driving scenario and can basically turn any back highway from night today with one flick of an auxiliary switch!
Excellent build. Highest standards against the competition
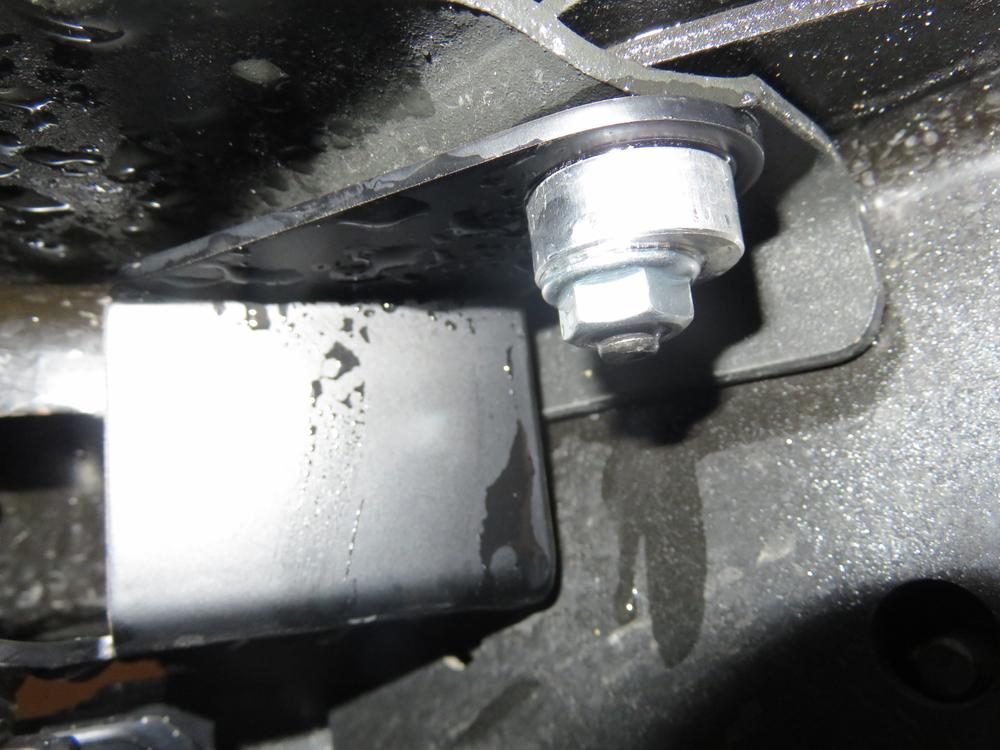
The installation is straightforward. Some tips to make it easy. Tape the front of the lights with painter's tape (eliminates potential scratches). The Bronco opening is tight. Identify the left and right brackets. There is a slight upward curve to the rear edge of the bracket. This curve is the top of the bracket. (distinguishes the left and right sides.) Tighten the lights sufficiently to move the lights for later alignment. The 7/16 wrench is used for tightening the lights after final alignment. Mount the lights to the rear of the elongated slots (if you mount them toward the front of the slot, the lights will be too tight against the rear edge of the bumper opening.) As an extra precaution, you may want to tape the bumper opening. Use a 3/8 rachet with an extension to remove the inner frame bolt (radiator side). The outward bolt has a sufficient thread where the supplied ****** nut and spacer will easily attach. The spacer is placed with the flat side down. Once the bracket is positioned, slide them toward the radiator. This allows the larger light to fully be exposed in the opening. Position the bracket on the inside with the bolt, then raise it to the outside threaded bolt. Place the spacer (hallowed-out side up - it slides over the factory threaded clip). You are now able to align the lights and tighten them with the 7/16 wrench. Wiring - if you have the factory switches - match the color wire with the switch to operate the inside light separate from the remaining two. Cut the harness as shown in the video if you are not using the switches. I solder my connections. I ran the entire harness down in front of the battery. Positioning along the core support may expose it to the latches, braces, etc. It will tuck into the space between the top of the bumper and the lower grill valence. Use heavier zip ties to secure the harness.